Unfortunately, working for a bank means rarely having a 2 day consecutive weekend and being married to a fellow banker means its pretty much unlikely that we can both get the same weekends off to plan a "weekend getaway". So when Mike and I get those rare opportunities to both have a 3 day holiday weekend off we make plans! That was the case this past weekend for Presidents Day. Mike and I drove out to Arizona to visit our friends, Chris and Michelle. Like me, Michelle loves cupcakes so it should be no surprise that on top of hanging out and having fun we BAKED SOME CUPCAKES!
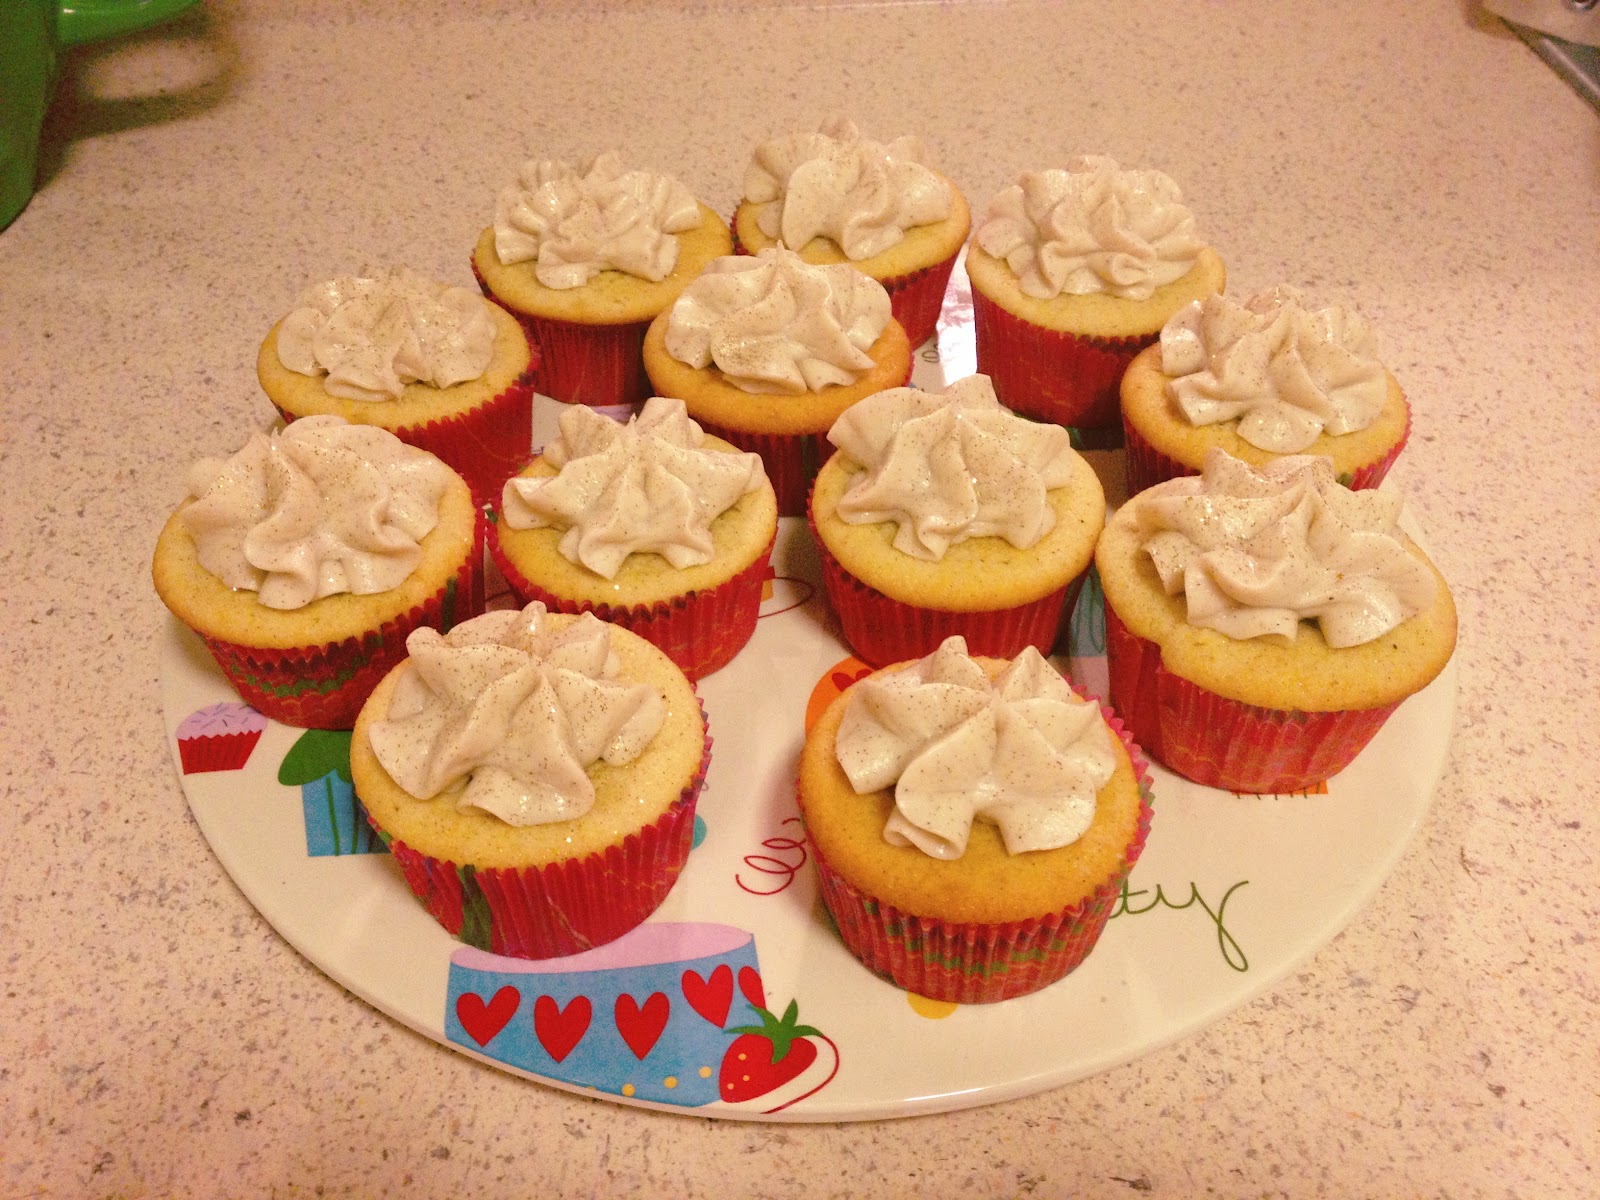
That's right, we made cupcakes. But not just any old cupcakes, tiramisu cupcakes. If you haven't ever had tiramisu or don't know what it is then i suggest you RUN to your nearest store and buy some now! Hahaha. All jokes aside, I love tiramisu. Its an Italian cake dessert. Basically, it's made of ladyfingers soaked in coffee and liquor, layered with a whipped mixture of egg yolks and mascarpone and dusted with cocoa powder. Obviously we were going to have to tweak the design a little to make in a cupcake form but the end result was AMAZING. Keep in mind that I don't typically declare my own cupcakes to be "amazing" simply because I am always very critical of what I bake and am pretty sure I can always improve in some aspect. With that said, I still believe these cupcakes were AMAZING!!!
What You'll Need
Tiramisu Cupcakes
recipe adapted from The Cupcake Project's Tiramisu Cupcakes
6 egg yolks
3/4 cup sugar
2/3 cup milk
1 1/4 cup heavy whipping cream
1/2 tsp vanilla
1 lb mascarpone cheese
1 cup strong brewed coffee, room temperature
2 tbsp rum
1 tbsp unsweetened cocoa powder
2 tbsp butter
dark chocolate (to make chocolate curls, optional)
ladyfingers baked in cupcake wrappers (see recipe below)
Homemade Ladyfingers
2 eggs, separated
1/3 cup + 1 tbsp sugar
1/2 cup flour
1/4 tsp baking powder
1. First things first, brew 1 cup of coffee and allow to come to room temperature.
2. In a saucepan, melt dark chocolate and butter over medium-low heat until smooth. Line a small, deep pan such as a bread pan with aluminum foil and pour melted chocolate on top of the aluminum. Place in refrigerator and allow to harden.
3. Next, In a medium saucepan, whisk the egg yolks and sugar together until combined. Slowly add milk and cook over medium heat . Stir occasionally until mixture comes to a boil. Allow mixture to boil for a minute then remove from heat. Cover tightly and chill in refrigerator for about an hour.
Next up, homemade ladyfingers! Preheat oven to 400F and line cupcake tin with cupcake liners.
4. In a small bowl, whisk together the flour and baking powder.
5. In another bowl, beat egg whites on high until soft peaks form. Slowly add 1 tbsp of the sugar and keep beating until they are stiff and glossy.
6. In another bowl, beat the egg yolks and remaining sugar until they become very pale in color.
7. Fold half the egg whites into the egg yolk mixture. Fold in the flour, then the remaining egg whites.
8. Evenly spoon a small amount of the batter into the cupcake liners and bake for 8 minutes. This will be the ladyfinger base of the tiramisu cupcake so you want to make sure there will be enough room on top of the ladyfingers for the mascarpone and whipped cream.
9. Remove the egg yolk mixture from the refrigerator and whisk in mascarpone until smooth, set aside.
10. In a bowl, beat whipping cream and vanilla until stiff peaks form, set aside.
11. In a small bowl, combine coffee and rum. Slowly pour several spoonfuls of the coffee/rum mixture over each ladyfinger, allowing it time to soak into the cake until it stops absorbing.
12. Spread the mascarpone over each soaked ladyfinger.
13. Spoon a dollop of whipped cream on top of the mascarpone.
14. Sprinkle with cocoa powder.
15. Remove the chocolate from the freezer and make chocolate curls using a vegetable peeler. If the curls easily break allow chocolate to warm up slightly. I find this technique works best if the chocolate is at room temperature. Place several of the curls on top of each cupcake.
16. Cover and refrigerate for several hours, until set.
As i said above, these were amazingly good! So good in fact, I don't have a single complaint about them and will definitely be making these again!
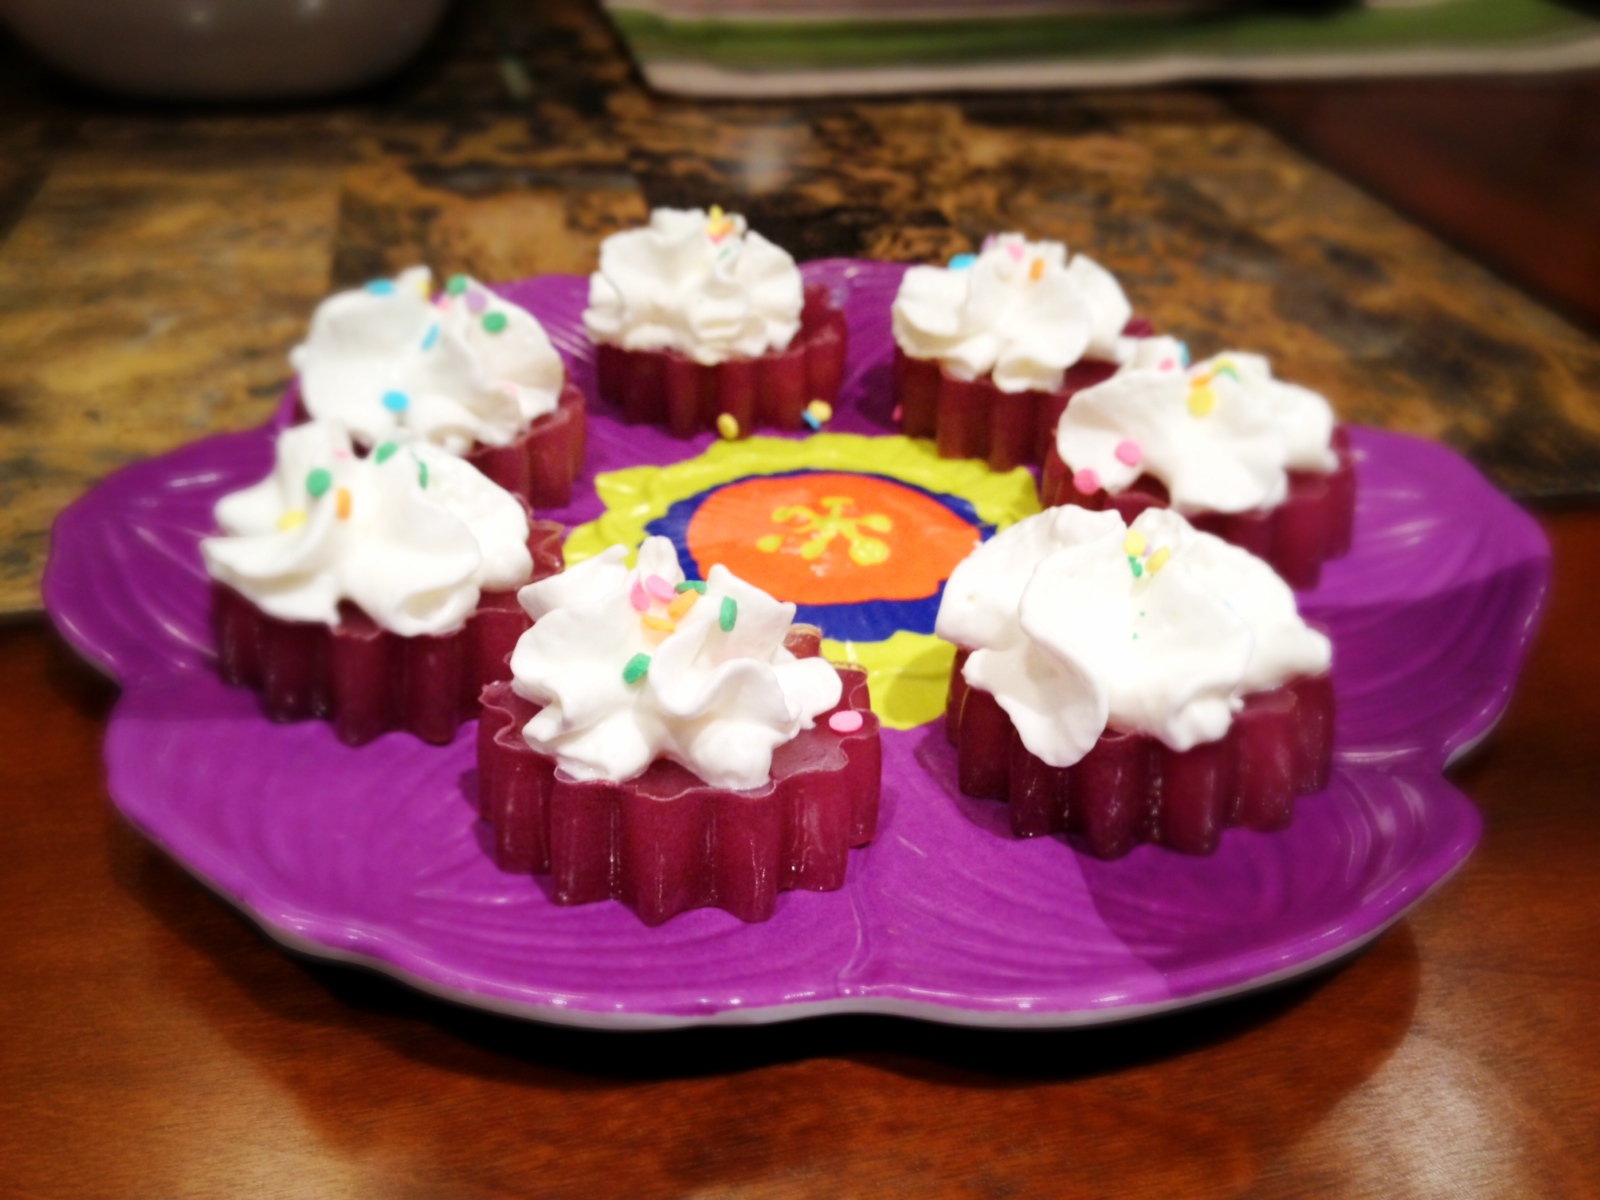
While in Arizona we also made some fun jello shots! A few weeks ago I found a cute recipe for birthday cake jello shots on a website that I follow called Sweet Tooth and posted it on Facebook. It seems that recently a whole bunch of fun flavored vodkas have come out such as birthday cake, whipped cream, and even toasted marshmallow. In the past it seemed like only obscure brands such as 3 Olives, Pinnacle, and Frost made these yummy flavors, but even Smirnoff has recently come out with them. As a surprise for me, Chris and Michelle got all the required ingredients so that we could make them...
What You'll Need
Birthday Cake Jello Shots
recipe adapted from Sweet Tooth's Birthday Cake Jello Shots
2/3 cup cream soda
2/3 cup cranberry juice
1 tbsp heavy cream
2 envelopes plain gelatin
2/3 cup cake flavored vodka
few drops of food coloring, if desired
whipped cream
sprinkles
mini cake silicone mold
1. Lightly spray mold with non-stick spray and wipe excess off so it doesn't affect the taste of the jello.
2. Pour the soda, juice, and cream into a saucepan. Sprinkle the gelatin on top and allow it to soak into the liquid for a couple minutes. Then turn the heat on low and stir until the gelatin is fully dissolved, approximately 5 minutes.
3. Remove from heat and add vodka and food coloring.
4. Pour into mold and chill in refrigerator for several hours until set.
5. Remove from mold. Top with whipped cream and sprinkles
These jello shots were delicious and we all had quite a few. In all honestly, they are going to get you drunk or even really buzzed but they are cute and very tasty. These will also be a repeat recipe...